Quick start
Run your first test in under 10 minutes.
Step 1: Create a project
When you first log in, you'll be prompted to create a project. This is your workspace where all test cases, runs, and reports live. Once created, move on to the next step.
Step 2: Create a test case
Test cases are the building blocks of TestQuality. Define what you're testing and what outcome you expect.
🎥 Watch video (1 min)
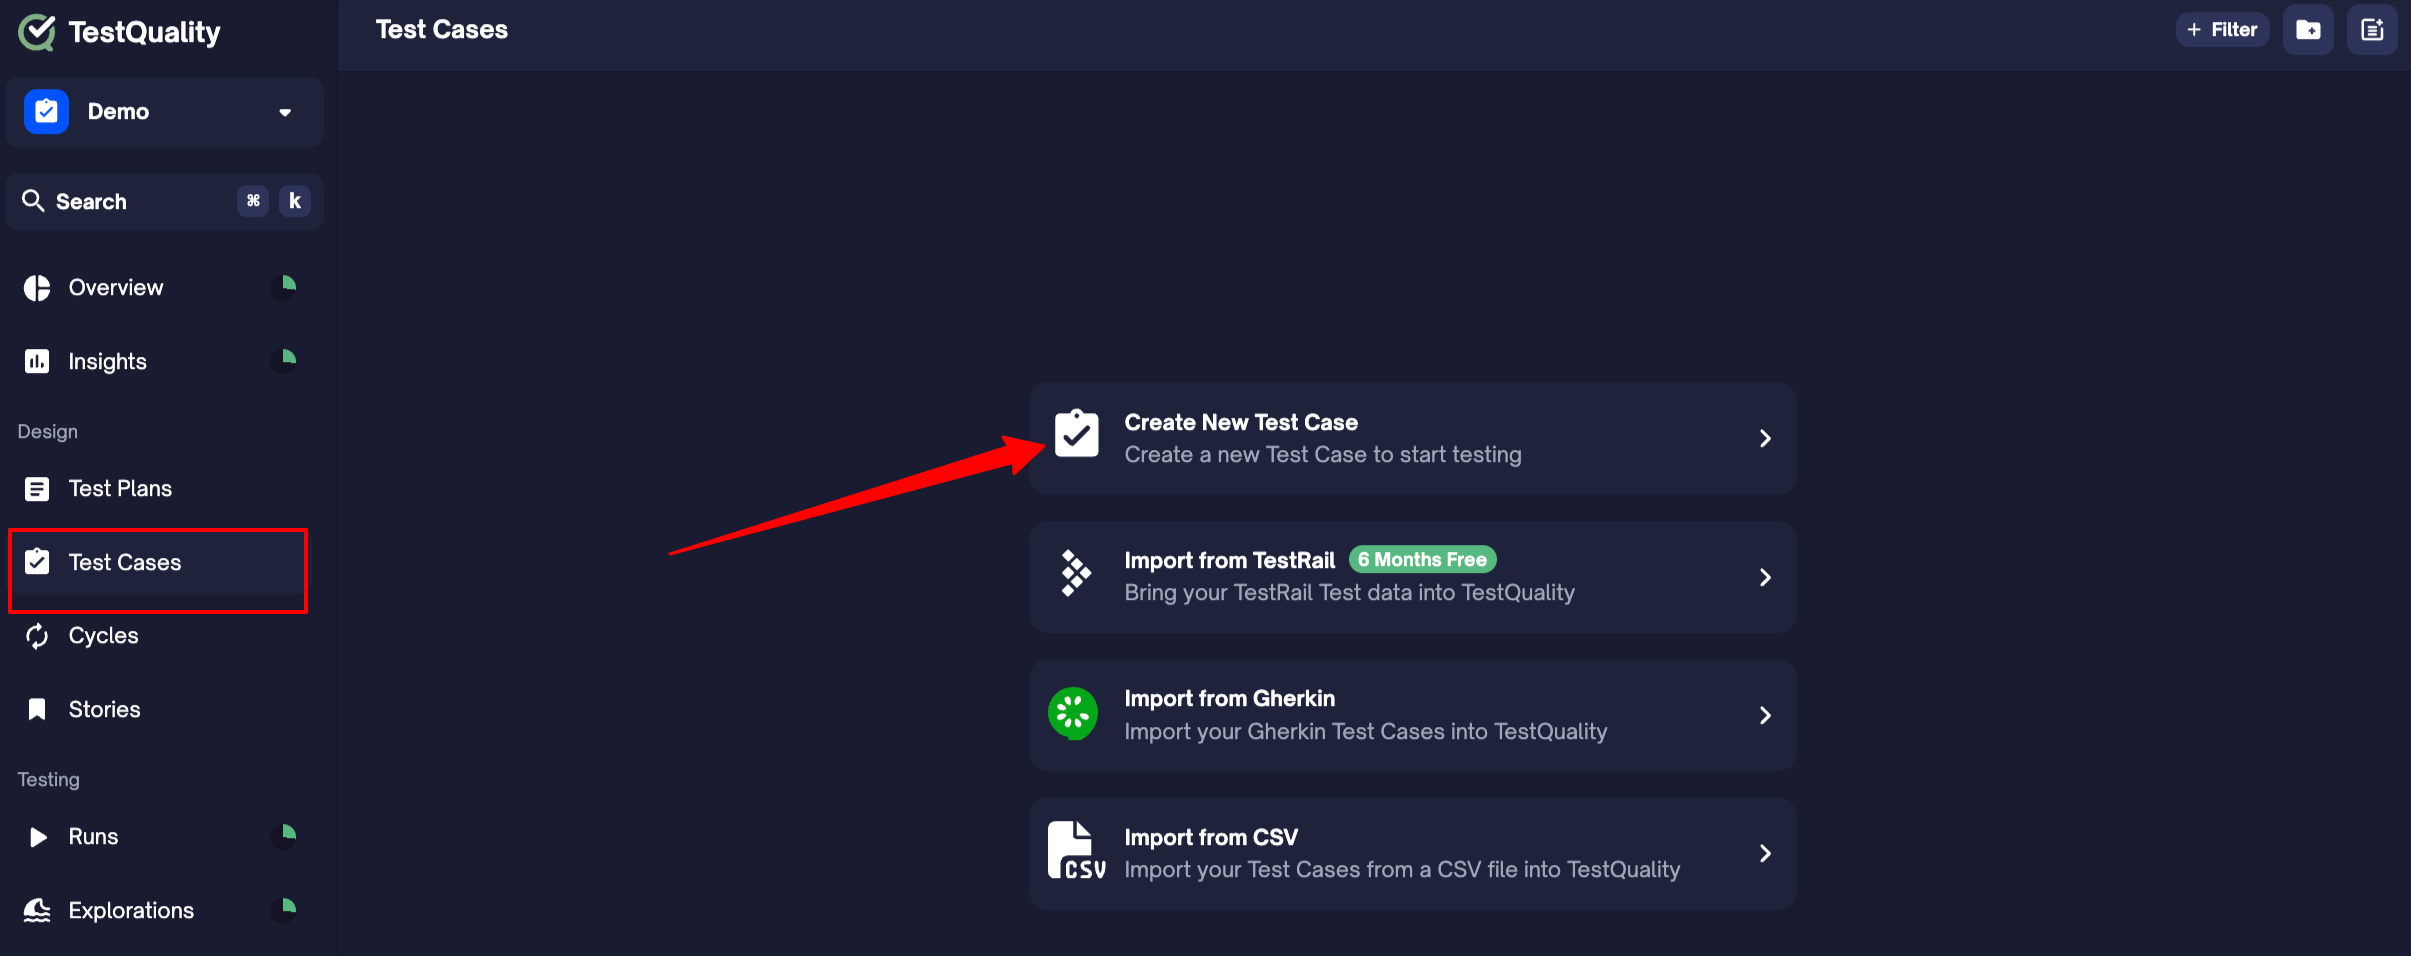
- Go to the Test Cases tab
- Click Create Test Case
- Fill in:
- Title: Login works
- Step: Enter valid username and password
- Expected Result: Dashboard loads
- Click Create
You can also add extra details like priority, tags, or assignee — totally optional at this stage.
Generate test cases with TestStory.ai
TestStory.ai is an AI-powered test case generator built by TestQuality. It generates test cases based on your chosen test settings — strategy, user perspective, and output format.
You can:
- Import issues and stories from Jira, GitHub, or Linear
- Save and reuse custom preset packs per project or team
- Export test cases as PDF, CSV, or Markdown
- Sync directly with TestQuality — click the TestQuality button, choose your project, and tests appear instantly
Access:
- TestQuality customers — log in with your existing email, included with 500 free credits/month
- Not a customer yet — try free with 50 credits/month, no setup required
Step 3: Create a run
A run is where you execute your test case and record results. Every time you execute a test — manually or through CI — a run is created.
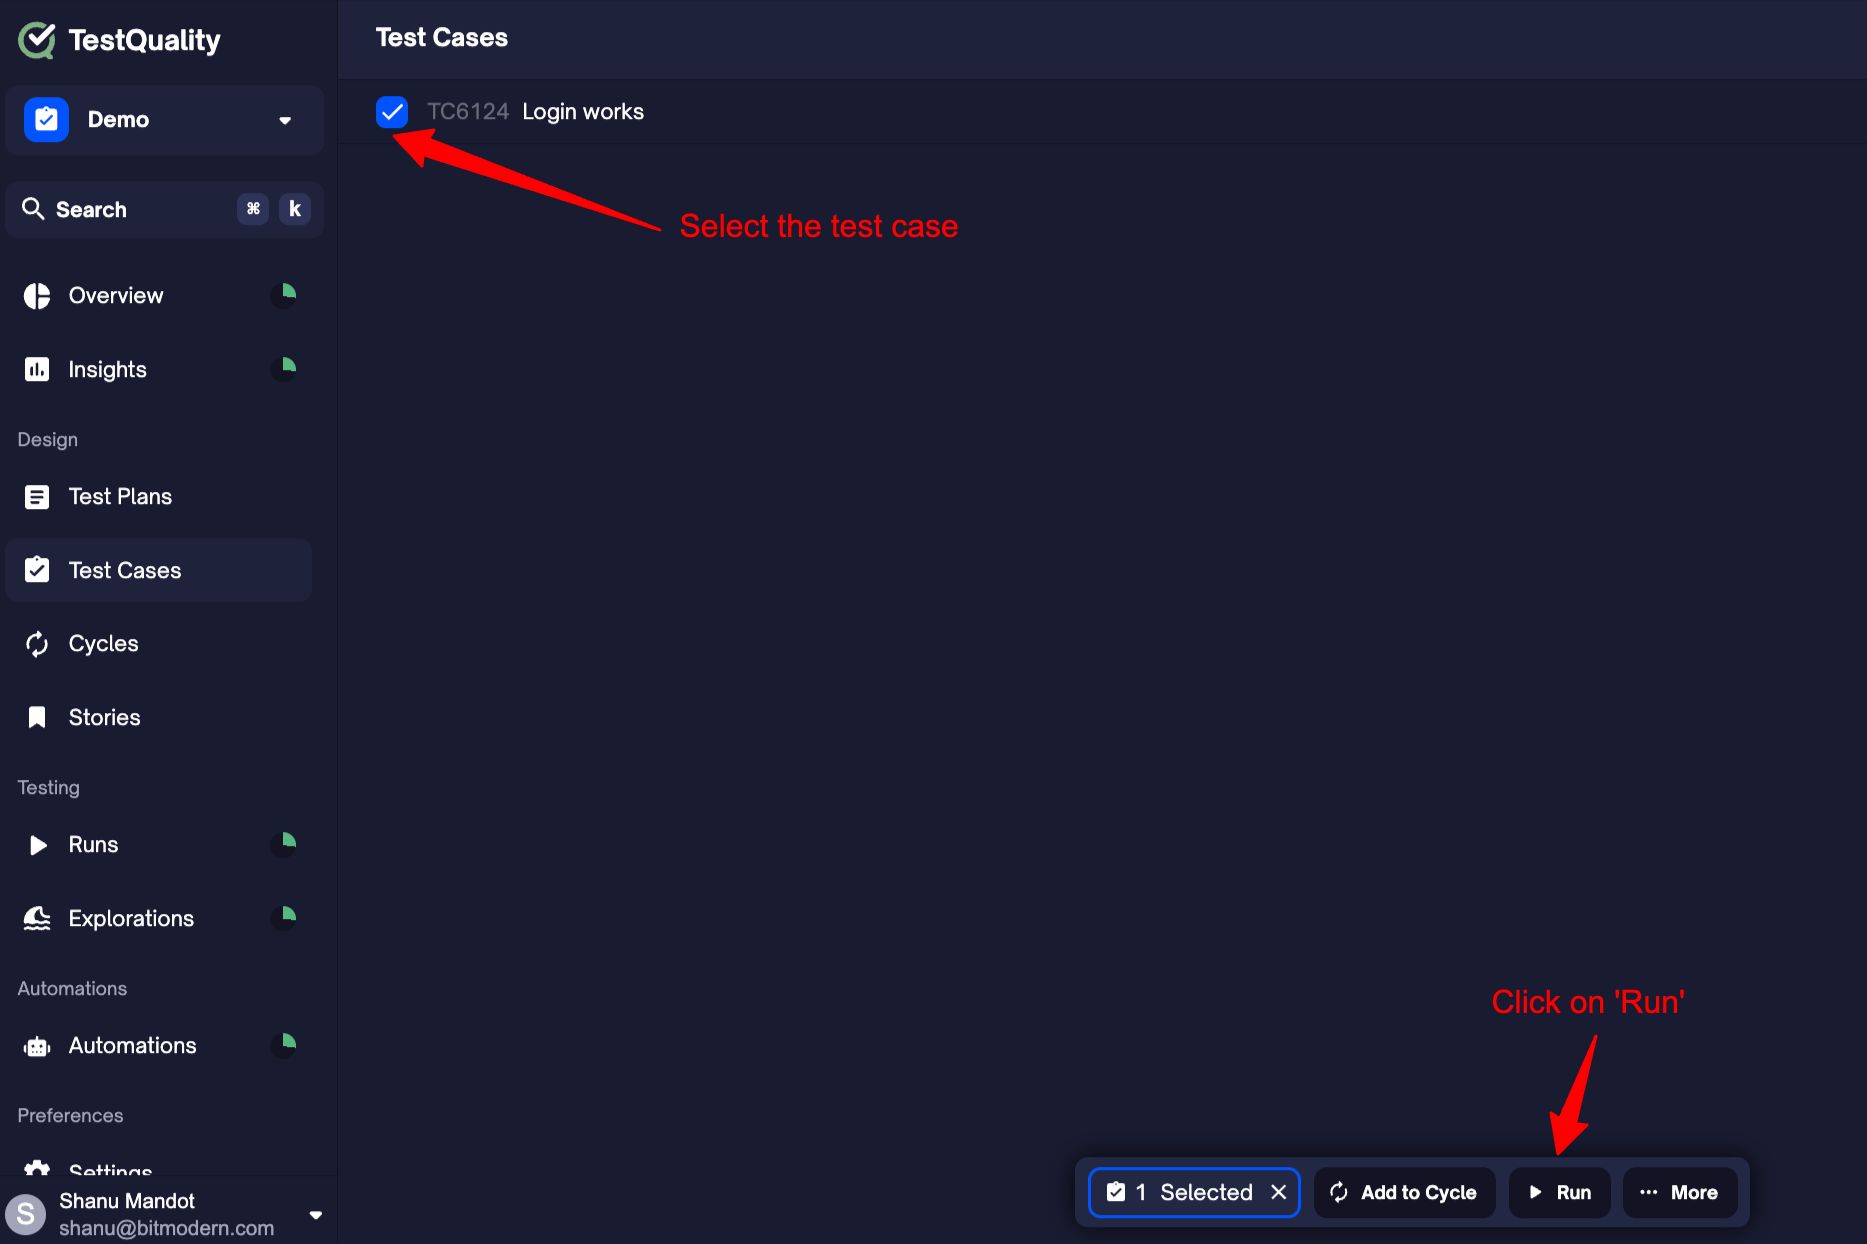
- Go to the Test Cases tab
- Select the test case you just created
- Click the Run button from the bottom toolbar
- In the dialog that opens:
- You can leave the defaults as-is for now
- Click Create to launch the run
💡 A Run captures the context and results of your test execution. You can create runs manually, from cycles, or even through automation later.
Step 4: Execute the run
Now that you've created a run, it's time to perform the actual test and record what happened.
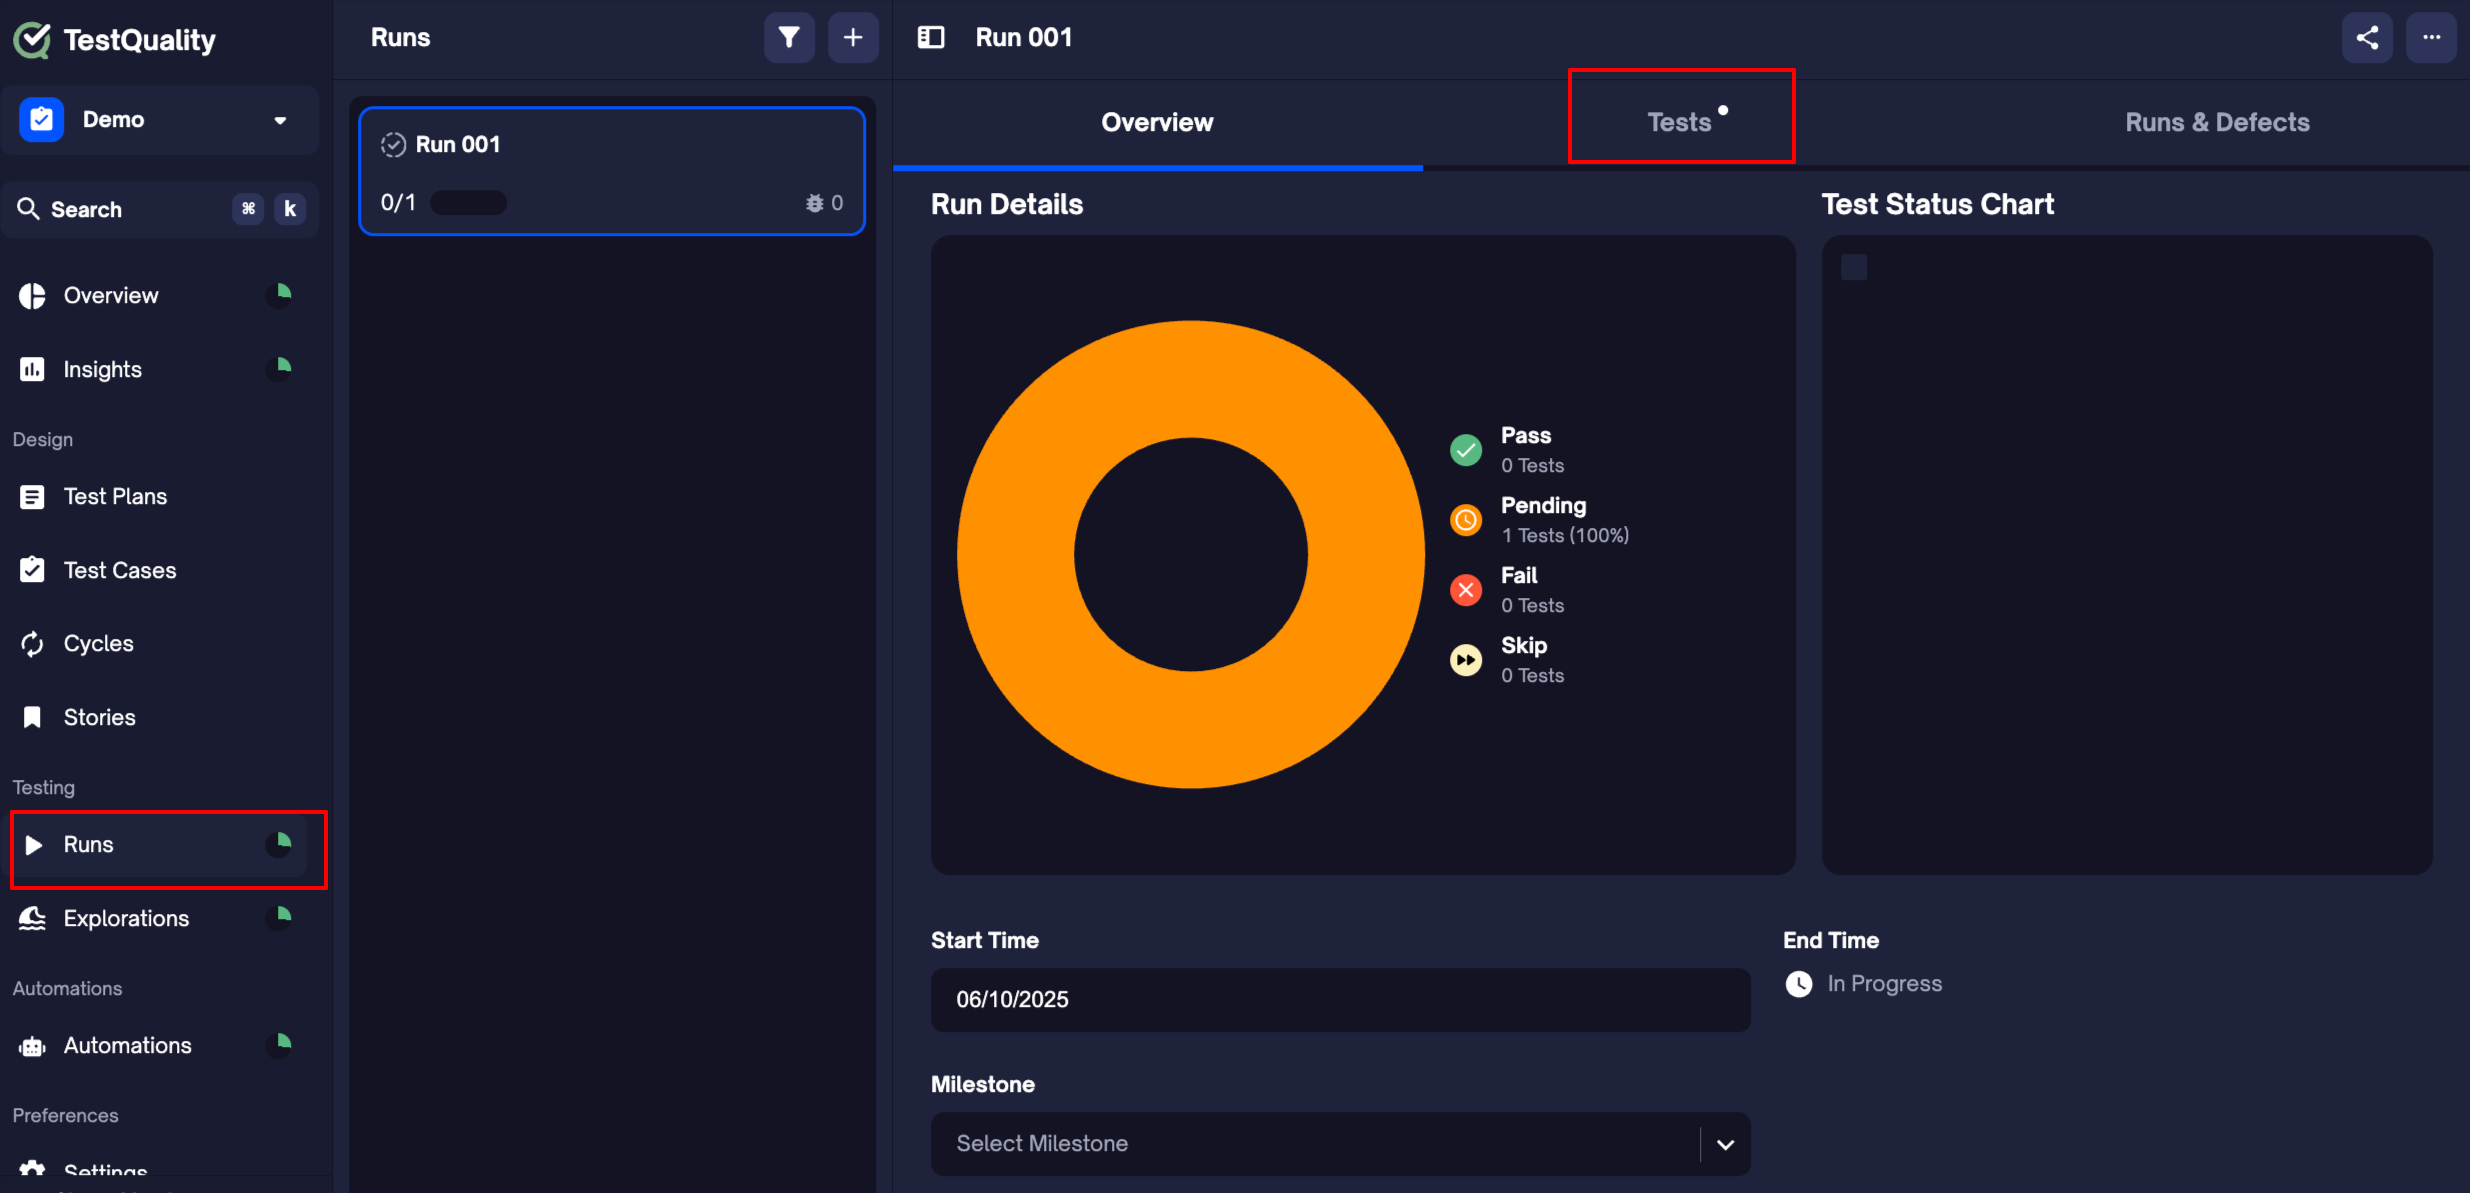
- Go to the Runs tab
- Open the run you just created and navigate to 'Tests' tab
- Click into the test listed inside the run
- In the drawer that opens:
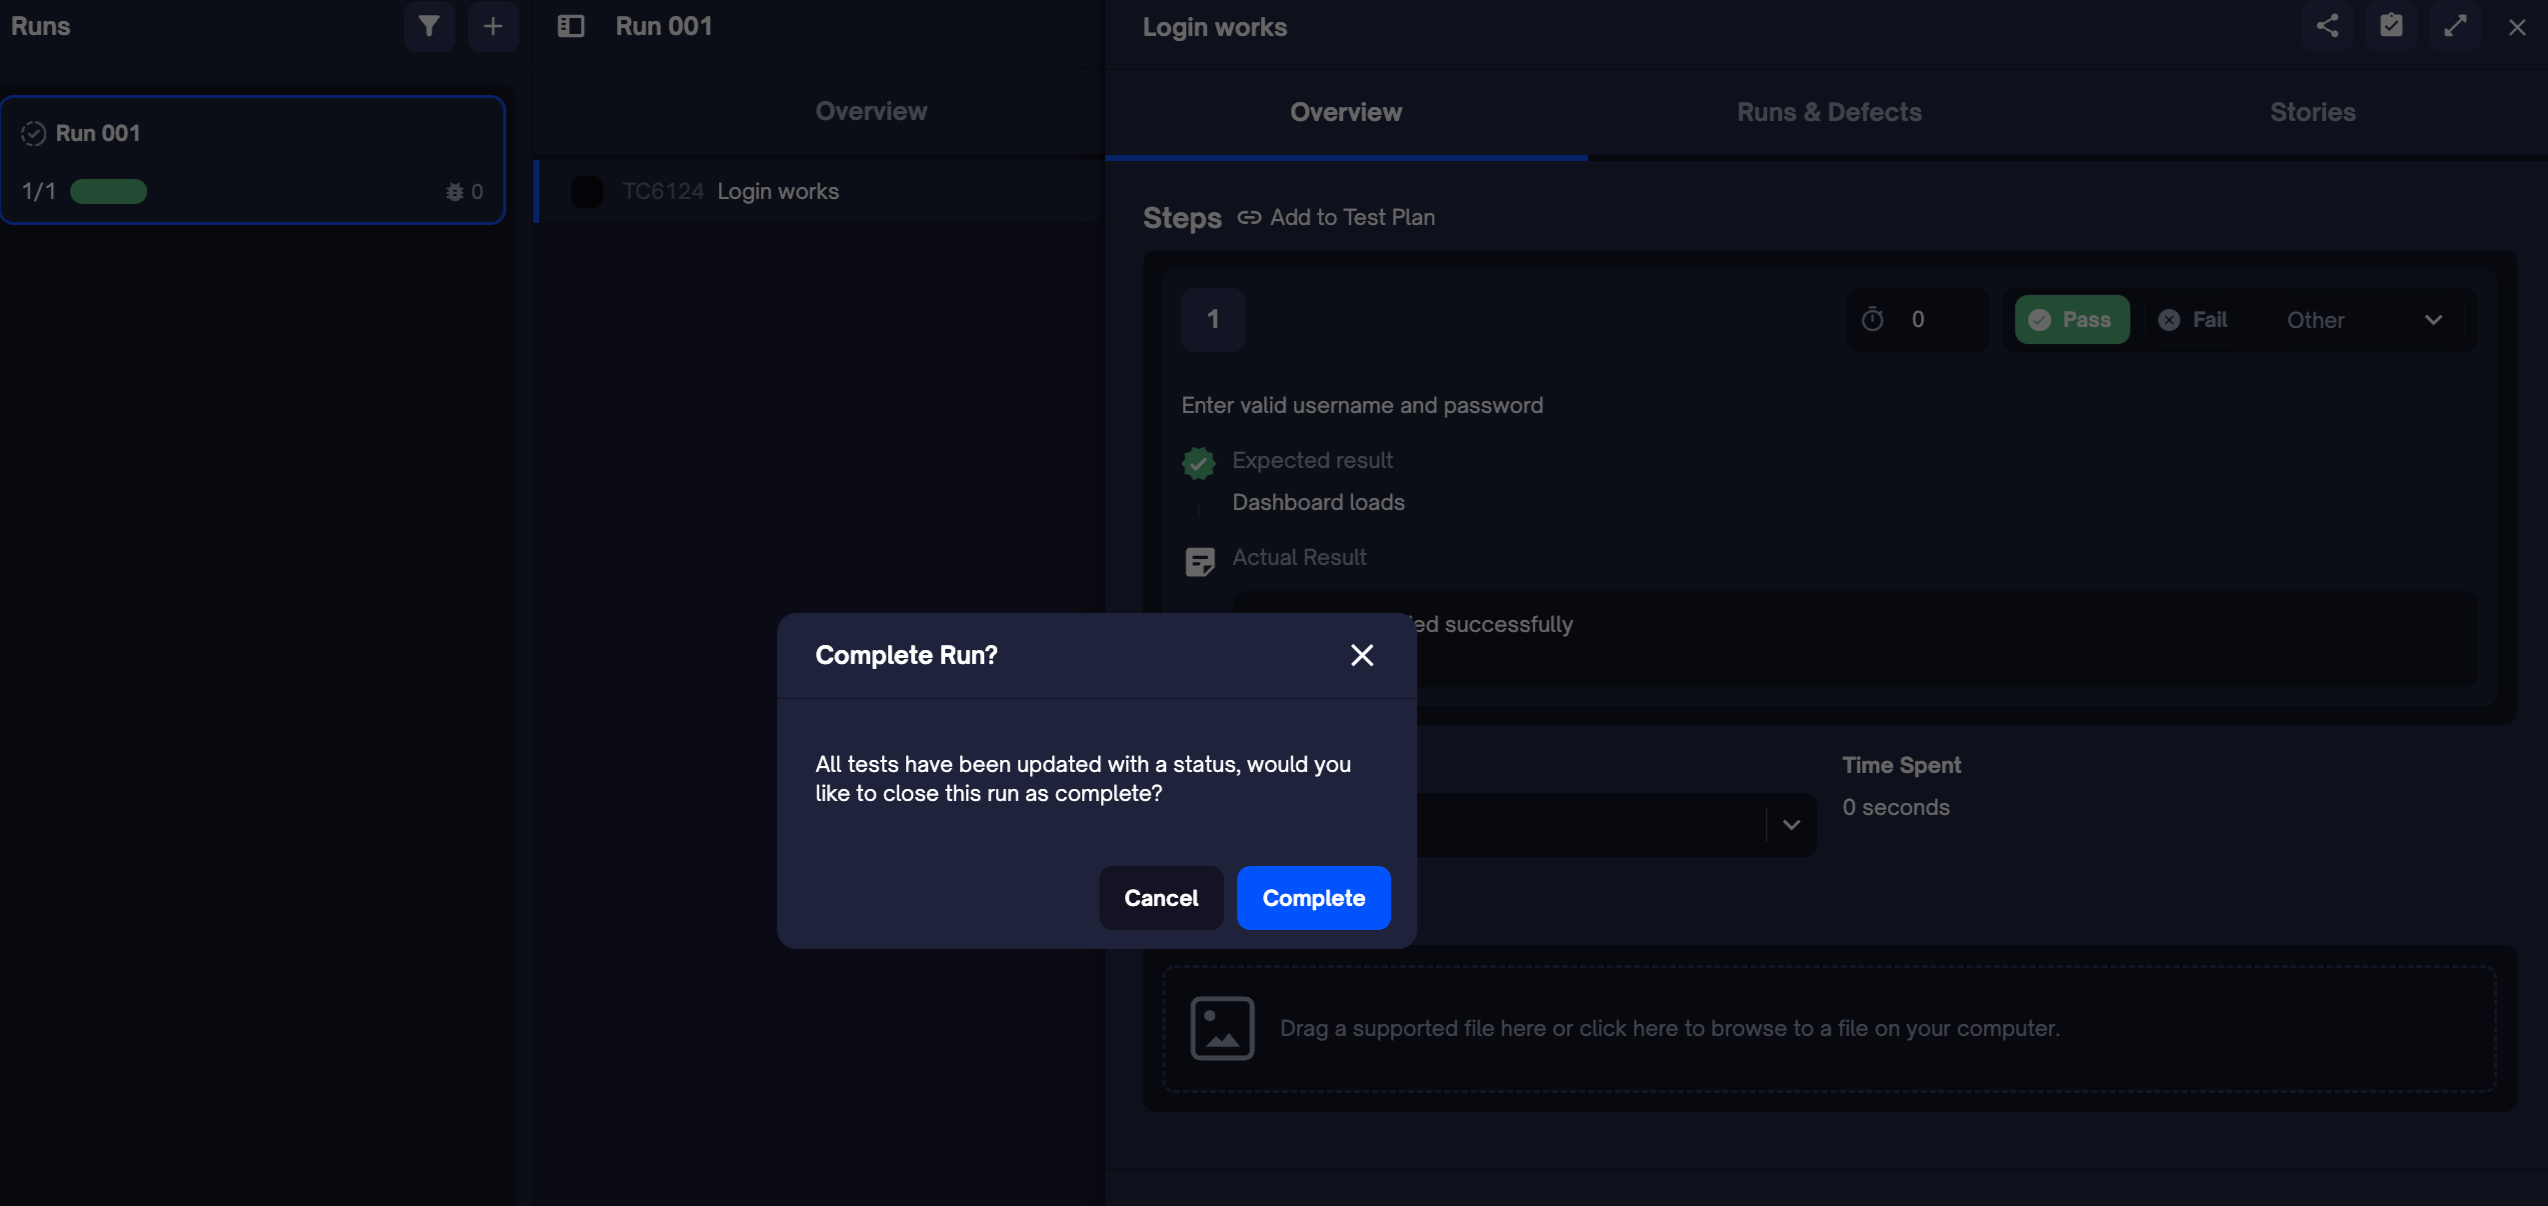
- Enter the Actual Result (e.g., "Dashboard loaded successfully")
- Choose the Status (Pass, Fail, Blocked, etc.)
- Click Save
💡 You can also add attachments, comments, or defect links here — but they’re optional for now.
Step 5: Complete the run
Once all tests are executed, mark the run as complete to lock in results and enable report generation.
Option 1 — from the run view: After executing the last test, click Complete run in the popup.
Option 2 — from the menu:
- In the Runs tab, locate your run
- Click the ⋯ menu
- Select Finish run
💡 You can still reopen the run later if you need to make changes — unless your team enforces run locking via settings.
Step 6: Generate a report
Once a run is completed, you can export a professional PDF report — perfect for sharing results with your team or stakeholders.
- Go to the Runs tab
- Open the completed run
- Click the three-dot menu (⋯) in the top right
- Select PDF Report
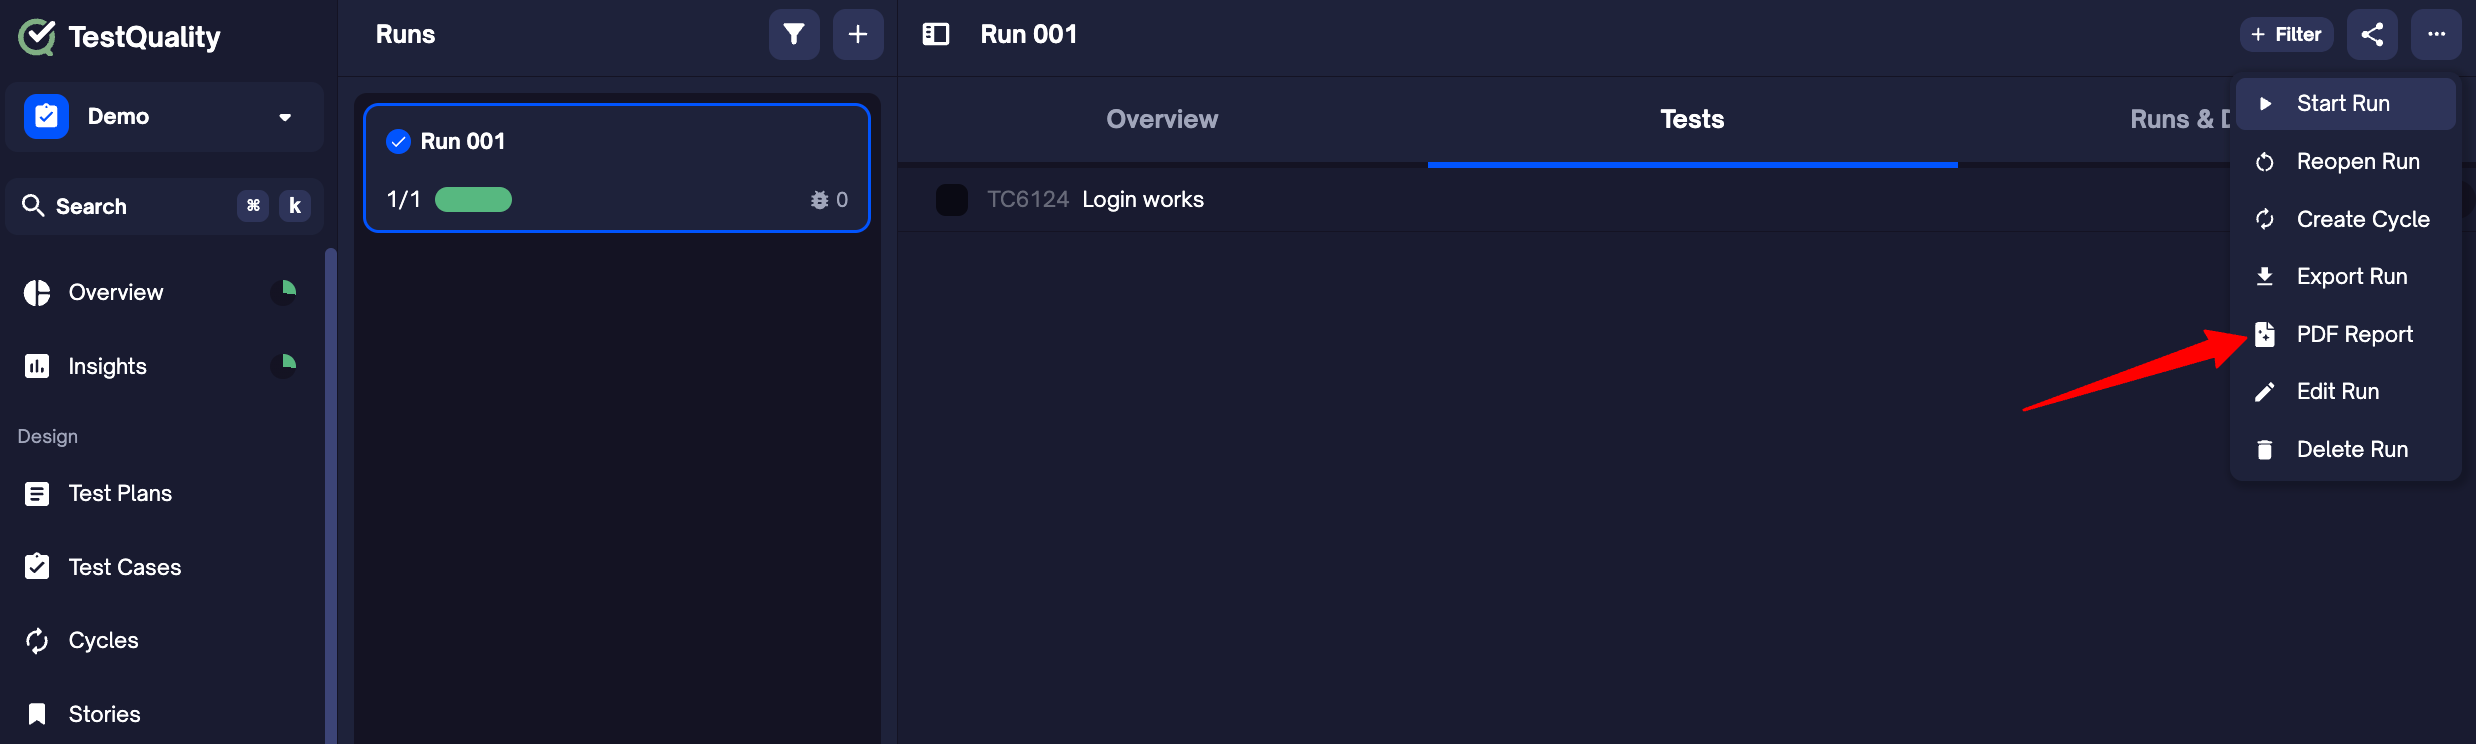
The report includes all test results, execution timestamps, status breakdown, and any comments or attachments.
Step 7: Share the Report
Once you've generated a run report, you can easily share it with your team or stakeholders for visibility and collaboration.
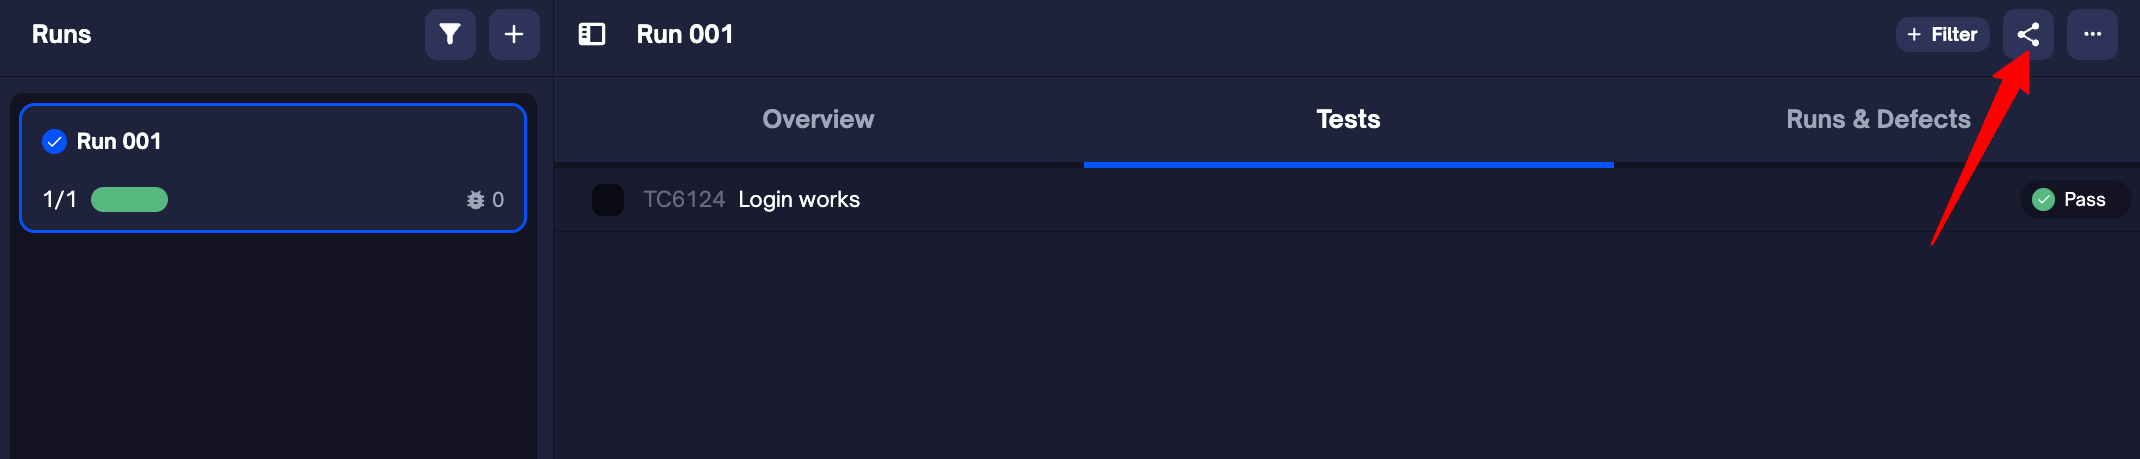
- Open the completed run
- Click the Share icon at the top of the page
- Choose one of the following:
- Invite teammates via email
- Copy shareable link to send directly
- (Optional) Adjust permissions to control who can view or edit the report
All shared reports respect your project’s permission settings to ensure secure access.
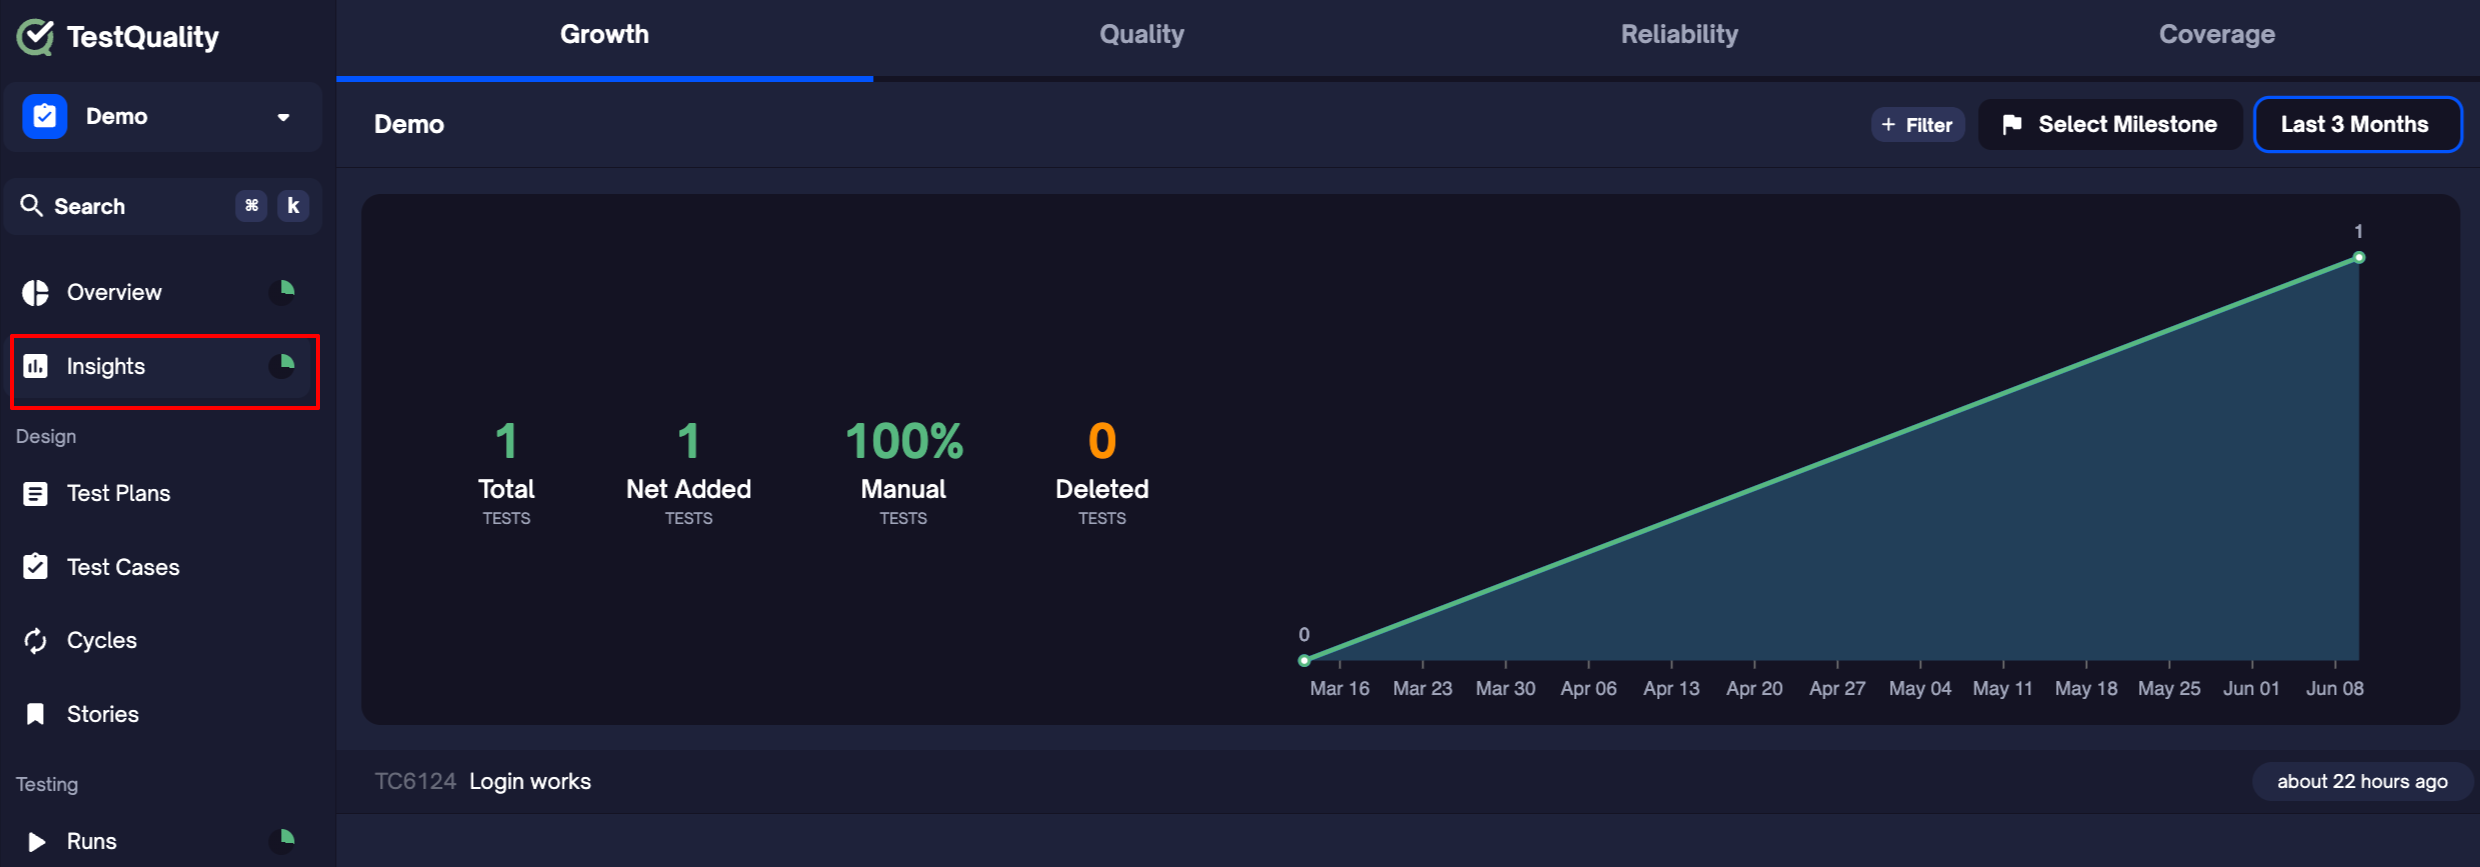
Step 8: Review Insights
The Insights tab gives you real-time visibility into test performance, quality trends, and flaky test patterns — all without setup.
- Go to the Insights tab
- View:
- Pass/fail trends
- Test coverage across cycles, runs, and milestones
- Flaky test indicators
- Use filters to zoom in on specific tests, cycles, or tags
💡 You don’t need to configure anything — data flows in automatically as you run tests.
What’s Next?
Once you’ve completed your first test run, here’s what you can explore next: